Nginx for serving multiple sites in docker

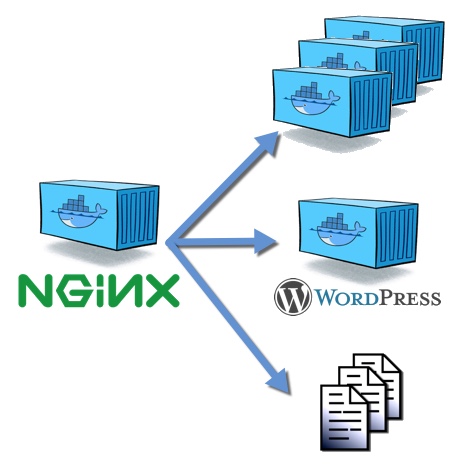
As part of ideas related to my docker VM, I planned to have multiple sites deployed on it. For example, one of the sites is this blog and another one is my personal site. In order to be able to serve two different sites running both in port 80 in the same VM, you will need to have something in front of them that distribute the traffic correspondently. That's where nginx enters the game.
Nginx (
First, you need to create the docker-compose.yml file in order to create and configure the docker container easily. In that file, add the following to have the server running and serving files form the path specified under volumes.
web:
  restart: always
  image: nginx
  ports:
    - '80:80'
  volumes:
    - /path/in/vm/www:/usr/share/nginx/html
Although that would be enough for most of the cases, the idea here is to use a custom configuration that enables doing a reverse proxy on the WordPress site we already have. In order to do that, you will need to link both containers. As this container and the WordPress one are in different compose files, you need to use the external_links configuration instead of links.
In the terminal, use docker ps to find out the identifier of your WordPress container (e.g. wordpress_web_1). Add the falling code snippet to your docker-compose.yml file.
external_links:
  - wordpress_web_1:bloghost
Additionally, configure the container to use a custom image instead of the default one. In the custom image, you will update the configuration by replacing it with a custom file. To configure the container to use the custom image, replace the image configuration with build using as value the path to the Dockerfile of the custom image (e.g. ./conf/).
You will end up with the docker-compose.yml file looking similar to the following one.
web:
  restart: always
  build: ./conf/
  ports:
    - '80:80'
  volumes:
    - /path/in/vm/www:/usr/share/nginx/html
  external_links:
    - wordpress_web_1:bloghost
Now, we will create the new Dockerfile inside the path you specified in the docker-compose.yml file. This file is really simple, just specify what is the image that this new image is based from and then copy the nginx.conf file to it.
FROM nginx
COPY nginx.conf /etc/nginx/nginx.conf
Create a new nginx.conf file in the same folder where the Dockerfile is located. In that file you should have the configuration that is needed to route the request to your different sites. In the following example, you can see that I'm using the domain name to route the request. You can find a full version of this configuration here.
The following snippet show how to set up nginx to serve the static files. Note that its using the server_name configuration to route the traffic only from the domains specified (e.g. nbellocam.me and <www.nbellocam.me>). Additionally, the files that will be serving are located in the /usr/share/nginx/html which is the path that we map with the vm in the docker-compose.yml file.
#...

http {

  #...

  server {
    listen 80;
    server_name nbellocam.me www.nbellocam.me;

    root /usr/share/nginx/html;
    index index.html index.htm;

    error_page 404 /404.html;
  }

  #...
}
The best part comes now, when we route the traffic to the WordPress site. To do this, first you will configure an upstream named wordpress that is mapped with the blogpost's external_link defined before in the docker-compose.yml file. By doing this, you don't need to know the internal IP that the docker containers have. Then, you will configure a new server node that uses a new server_name configuration targeting to the new domain, in this case blog.nbellocam.me. Then in the root location node you will have the proxy_pass configuration using as value the schema and the upstream name specified before. Additionally, you will have several properties that enables you to perform a silent redirect, making it possible to use the domain specified even when the real url is a private ip located inside the docker vm.
#...

http {

  #...

  upstream wordpress {
    server bloghost:80;
  }

  #...

  server {
    listen 80;

    server_name blog.nbellocam.me;

    location / {
      proxy_pass http://wordpress/;
      proxy_http_version 1.1;
      proxy_set_header Upgrade $http_upgrade;
      proxy_set_header Connection 'upgrade';
      proxy_set_header Host $host;
      proxy_set_header X-Real-IP $remote_addr;
      proxy_set_header X-Forwarded-For $proxy_add_x_forwarded_for;
      proxy_cache_bypass $http_upgrade;
    }
  }
}
